Camping is a fun and exciting outdoor activity, but sometimes, cooking meals can be a bit of a hassle. Bringing a camping oven with you on your trip is a great solution, but buying one can be expensive. Why not try making your own camping oven? It`s simple and cost-effective, and you`ll have a homemade oven that you can use for all your camping adventures.
Step 1: Prepare the Tin Can
Wash and dry the tin can thoroughly. Make sure there are no leftover food particles or residue inside the can.
Step 2: Remove the Label
If the tin can has a label, remove it using warm soapy water. This will prevent any of the label`s adhesive from coming into contact with your food while cooking. Dry the can completely before moving on to the next step.
Step 3: Create Air Holes
Using a can opener, punch a row of holes around the top edge of the can. These holes will serve as air vents for your oven, promoting air circulation and preventing the fire from going out.
Step 4: Cut a Lid for the Tin Can
Using a sharp knife, cut a circular lid from the top of the tin can. This lid will serve as the door for your oven, so make sure it is large enough to fit snugly over the top of the can.
Step 5: Create the Baking Rack
Using pliers, straighten a wire coat hanger and cut it into two equal lengths. Bend the two wires into W-shaped racks that will fit inside the tin can, one inch from the bottom. These racks will serve as the base for your food to sit on while it cooks.
Step 6: Preheat Your Oven
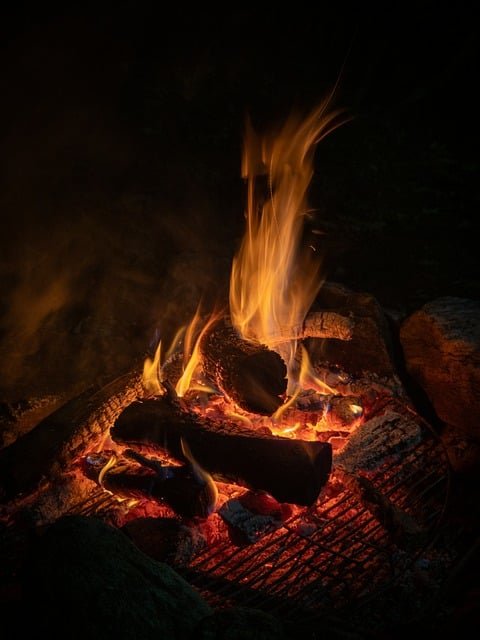
Fill the base of your tin can with charcoal briquettes and light them using a lighter or matches. Allow the charcoal to burn until it turns to glowing embers (about 10-15 minutes).
Step 7: Assemble Your Oven
Place the wire racks inside the tin can, one inch from the bottom. Put your food on a piece of aluminum foil (shiny side up) and wrap it securely. Place the foil-wrapped food on top of the wire racks, and cover the tin can with the lid you cut earlier.
Step 8: Control the Heat
The number of charcoal briquettes you use will depend on the size of your tin can and the temperature you need for cooking. As a general rule, 10 briquettes will provide low heat, 20 will provide medium heat, and 30 will provide high heat. Adjust the number of briquettes according to your needs. You can also place more briquettes on top of the lid to increase the heat.
Step 9: Cook Your Food
Allow your food to cook for the desired time, checking on it periodically. You can adjust the heat by adding or removing briquettes as needed. Remember to use protective gloves or tongs when handling the hot tin can and charcoal.
Step 10: Clean Up
When you`re done cooking, allow the oven to cool down completely before disposing of the used charcoal. Once the ash has cooled down, wrap it in foil and dispose of it properly. Wash the tin can and wire racks with soap and water and dry them thoroughly for future use.
Congratulations, you`ve just made your own camping oven! With a little bit of creativity and resourcefulness, you can enjoy warm and delicious meals on your camping trips without breaking the bank. Have fun cooking!


Join our newsletter community for exclusive updates, offers, and more. Sign up now to stay in the loop!
© Outdoor-Expedition. All Rights Reserved. Design by HTML Codex